
This article is one of the tutorials about how to config API in Kong and Konga to manage microservices. Before read this article you need to know what is Kong and key concepts in Kong and install Kong on Docker.
In this tutorial we’ll use fake API from https://fakestoreapi.com/docs . We will call API to get list products, cart via Kong API gateway, then Kong will forward this request to https://fakestoreapi.com/products and https://fakestoreapi.com/carts
Adding Services
At first you need to access Services menu, click add new service button then fill form like this
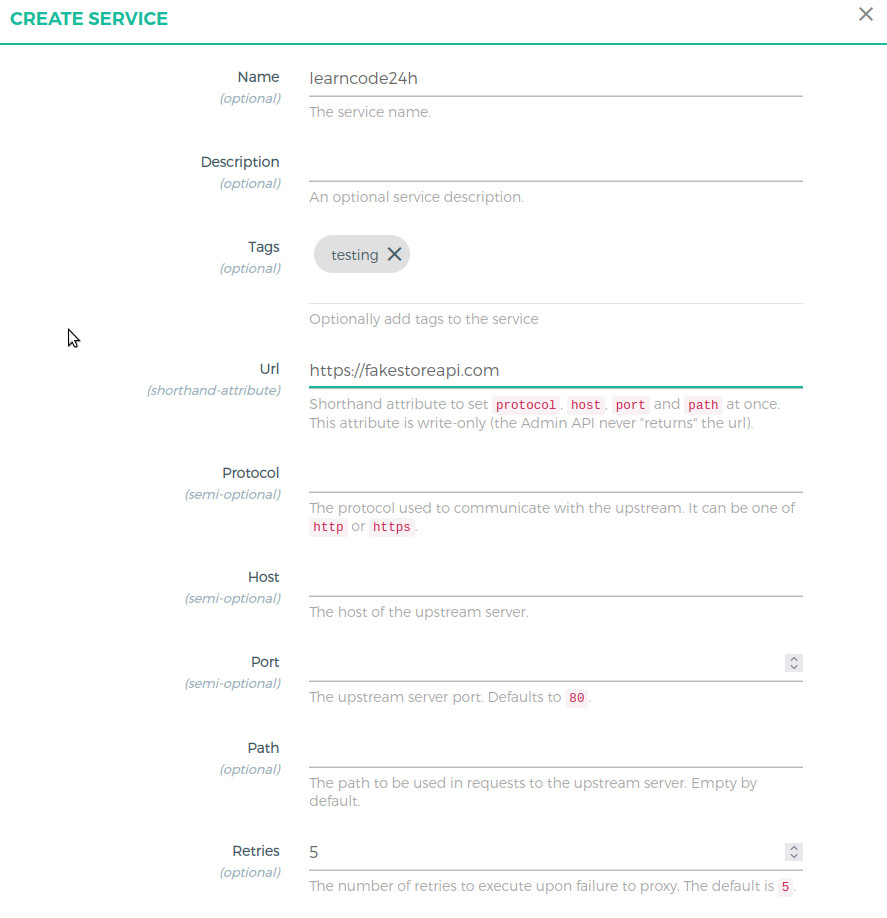
Name | Add a unique name for your upstream service. |
Description | Service description. |
Tags | List of tags to identify a group of services together. Press ENTER for any kind of array values in Konga UI. |
URL | Shorthand for setting Host, Path, Protocol with just one value. Note that this is only a feature in Konga, Kong doesn’t have it, when using it with the Admin API calls directly. |
In this example we leave path field is empty (or /) because the API https://fakestoreapi.com/products has only 1 level in the path. If you want to call upstream http://host/base-path/path you’ll need to set up Path in the above dialog is base-path.
Adding routes
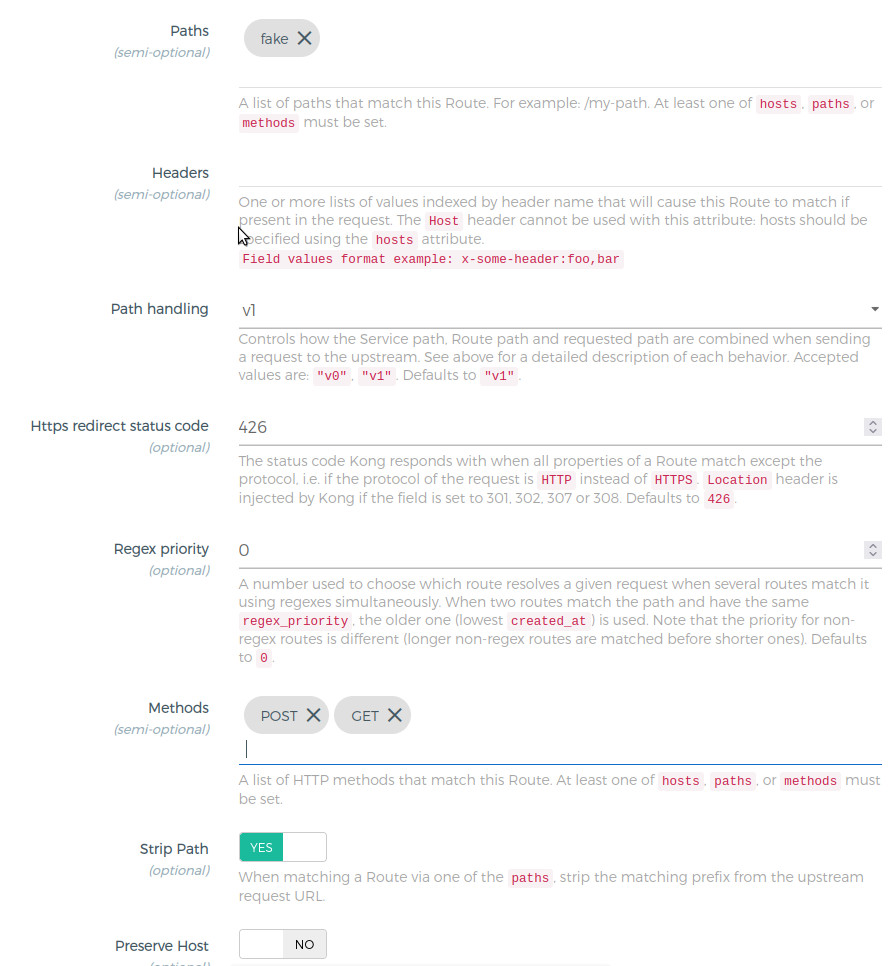
If you want to call API kong-gateway-adress/fake/products and Kong will forward this request to upstream https://fakestoreapi.com/products you will need to setup route like this. In Add Routes Dialog you only need to set Paths and Methods field. You should note that the value of Strip Path must be false.
| Field | Value |
|---|---|
Name | Add a unique name for your route. |
Hosts | Kong checks for the hostname present in the incoming request’s header. If you specify this value then the Hostname must be present for Kong to match the request to this route. This is suitable only if you want to block any request made outside this hostname. You can leave it null if not needed. |
Path | List of paths present in the incoming request. This is required to namespace the upstream endpoints. The client must send this prefix in the request, Kong will try to match any request’s path in this list of paths and based on the setting of strip_path the request will be proxied. |
StripPath | Boolean value, which configures Kong to strip the matching path from the incoming request to the upstream URL. |
Now, you can open terminal or Postman and call
curl -i localhost:8000/fake/products
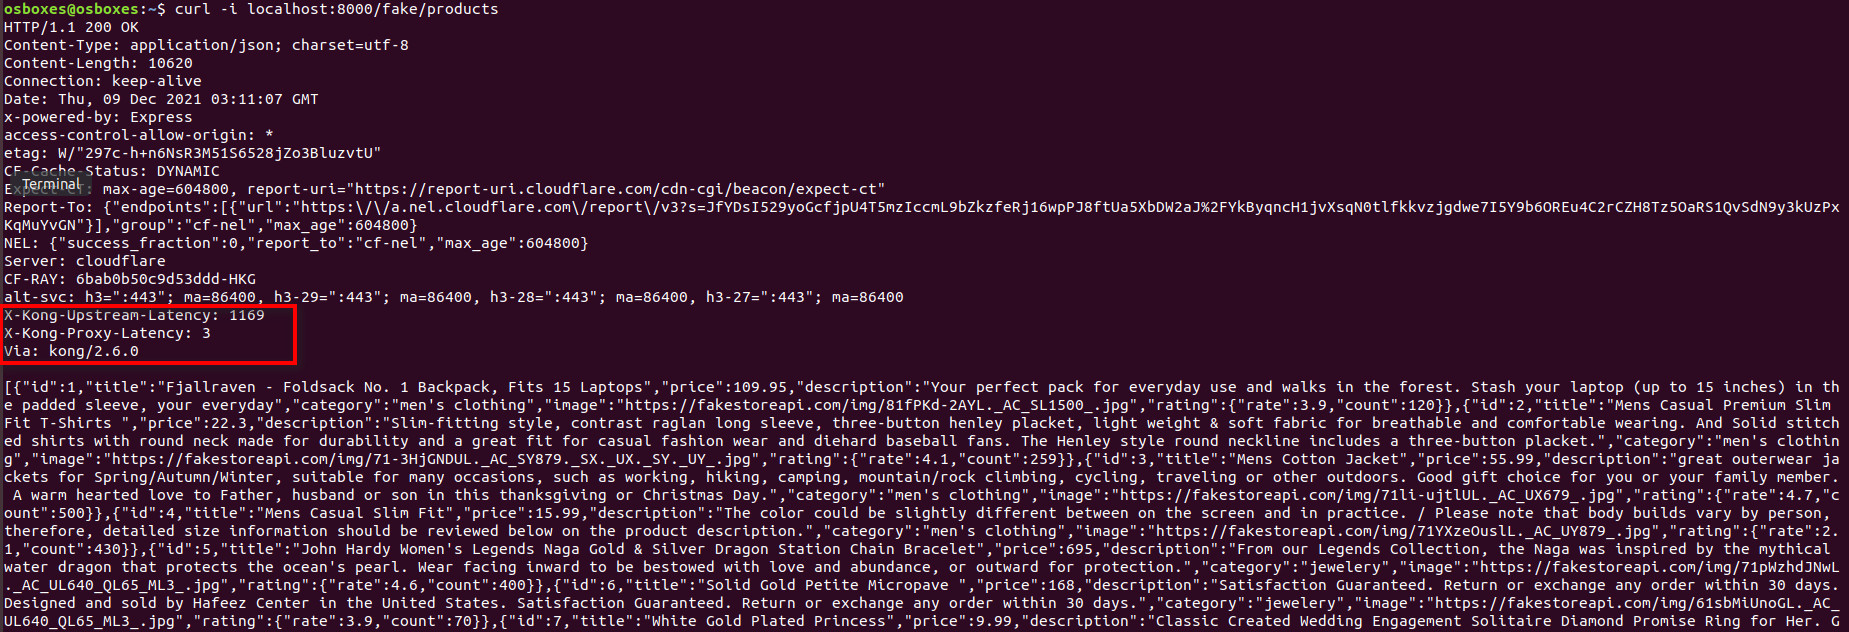
We realize that the response header will contain via:Kong. Kong will try to match the path /fake in this incoming request and look for the routes where the path is fake. Since it found the correct route, and we have set strip_path to True, Kong will just remove this particular path prefix while reverse proxying to the upstream URL. In this way, our upstream doesn’t need to be concerned about the path prefix as well.
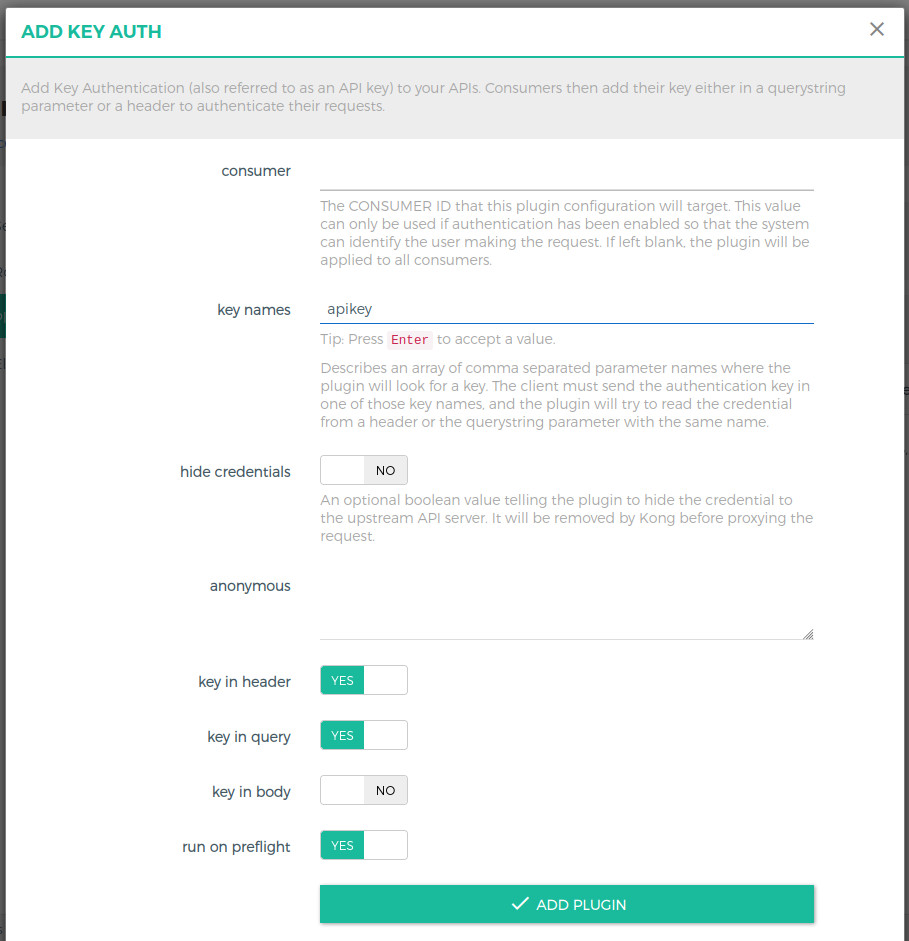
Security API – Authenticate Kong API with plugin Key Auth on Service
In created service learncode24h, you click on Plugins and Add Plugin button
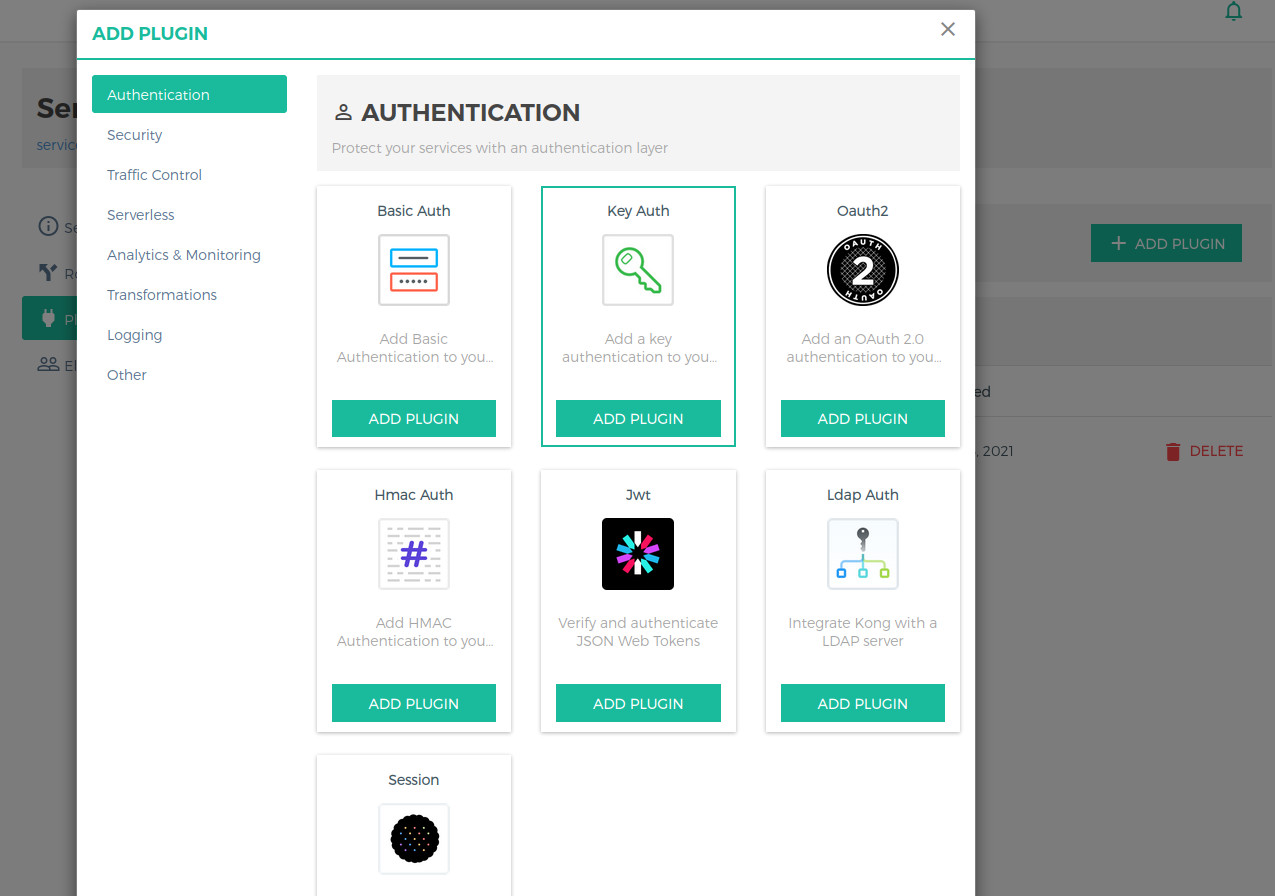
In the next screen, you need to specify key names (I use apikey in this sample), all other fields you can leave blank.
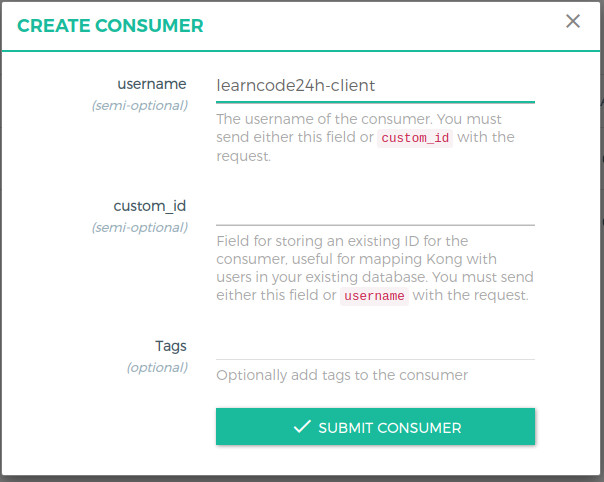
Adding Consumers
After setting up authentication for API, you need to generate apikey for clients before calling API. Go to Consumers link and click Create Consumer button.
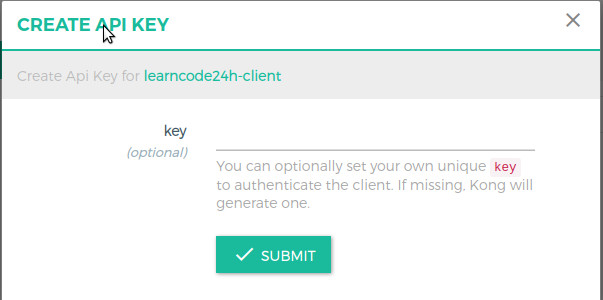
Then you click to tab Credentials -> API KEYS and click CREATE API KEY button, in this dialog, you can enter your API key or leave it blank and Kong will generate an apikey for you.

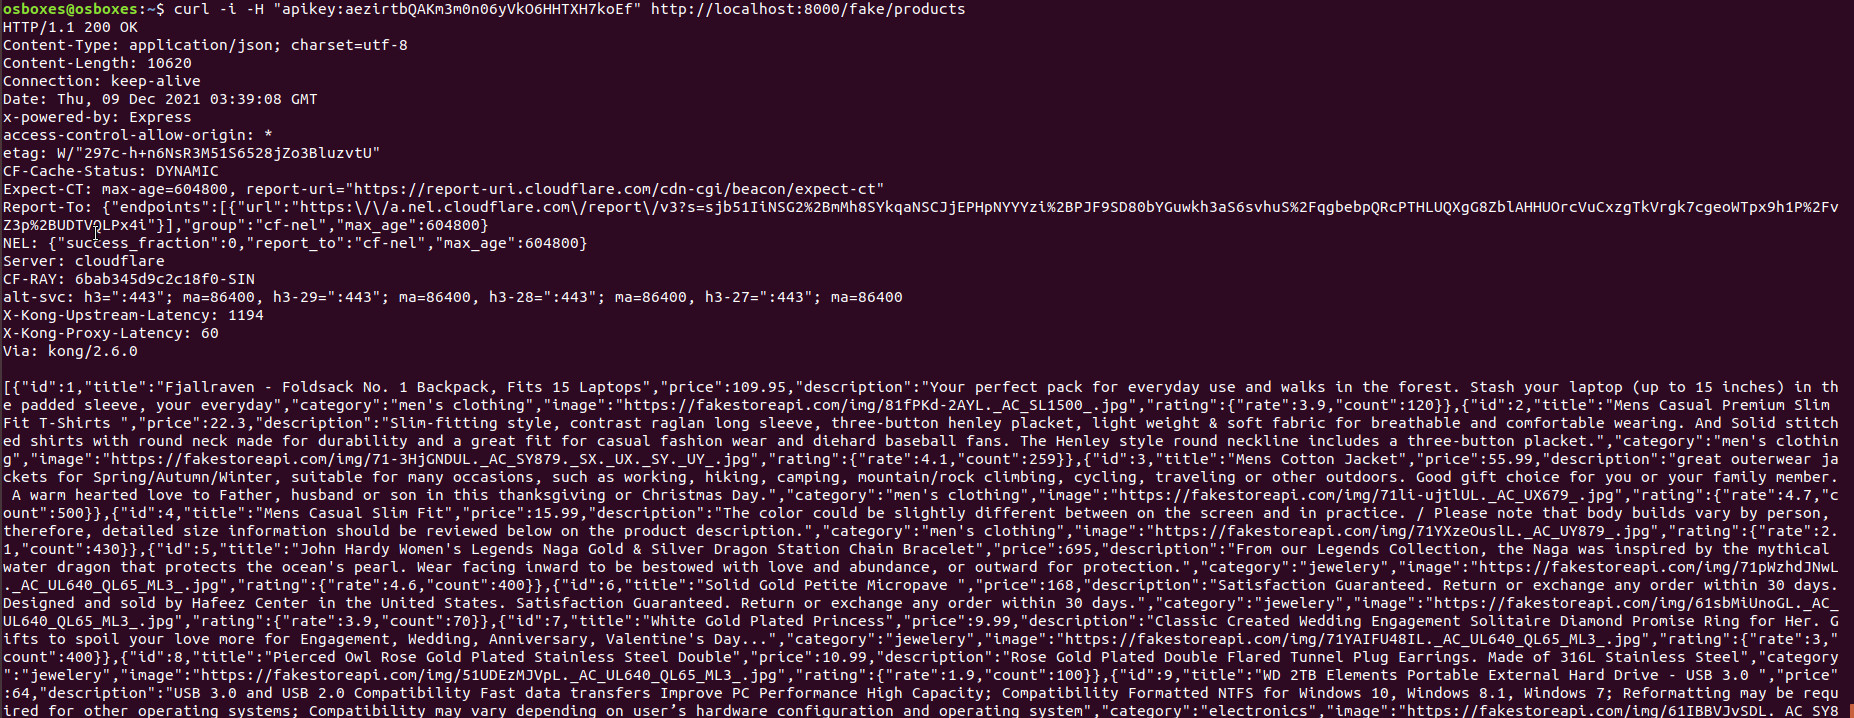
Now you’ll need to add an apikey to the header when calling API localhost:8000/fake/products. Without you’ll get 401 – unauthorized error.
$ curl -i -H "apikey:{{your-api-key}}" http://localhost:8000/fake/products
 In real-world applications, the readers should only be able to read. Managing resources is something only administrators/editors should be allowed to do.
Our management route, — the one that accepts POST , PUT , PATCH and DELETE requests should only be accessible by certain consumer groups. In order to achieve that, we can use Access Control Lists plugin and specify Consumer Group for each route. For example:
- Routes with GET method will be assigned for READER consumer group
- Routes with POST/DELETE/PATH method will be assigned for EDITOR consumer group
Setting up Access Control Lists for routes
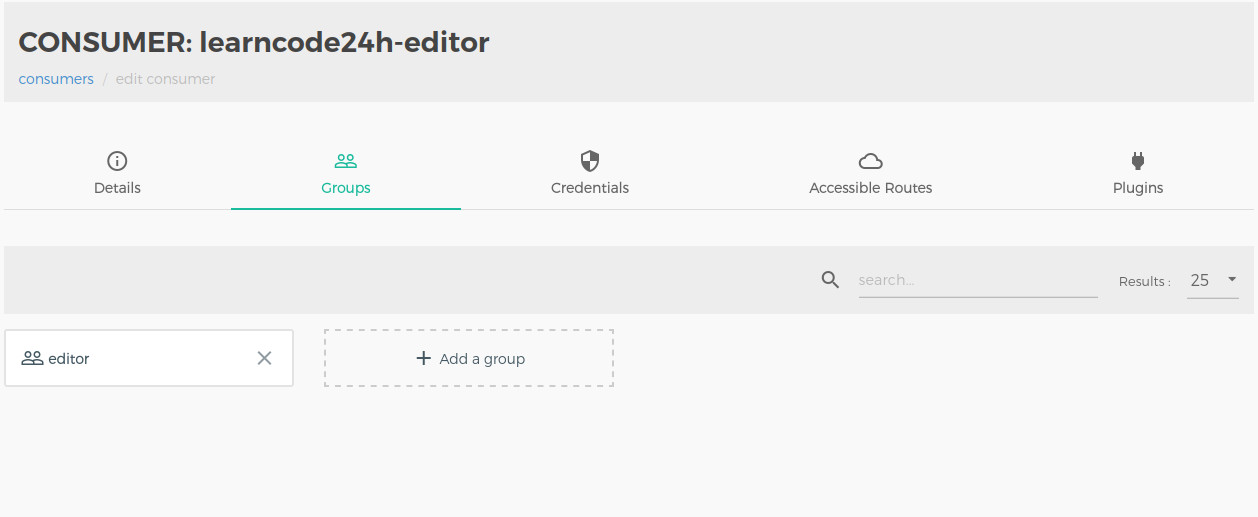
We’ll create one more consumer is learncode24h-editor with Write permission.

After that, you need to click on Groups on each consumer and set Group for per consumer like this. You can name the group anything.
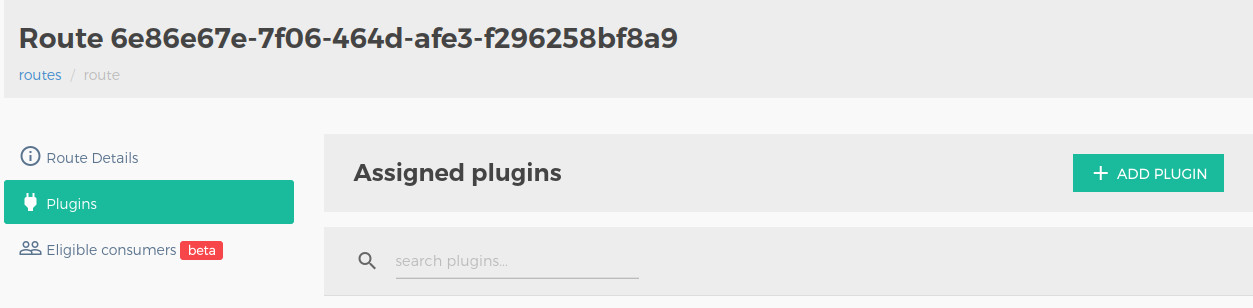
Go to routes of learncode24h-service and click on Plugins then click ADD PLUGIN button

In allow field, we need to specify consumer group (don’t forget to press enter after typing)
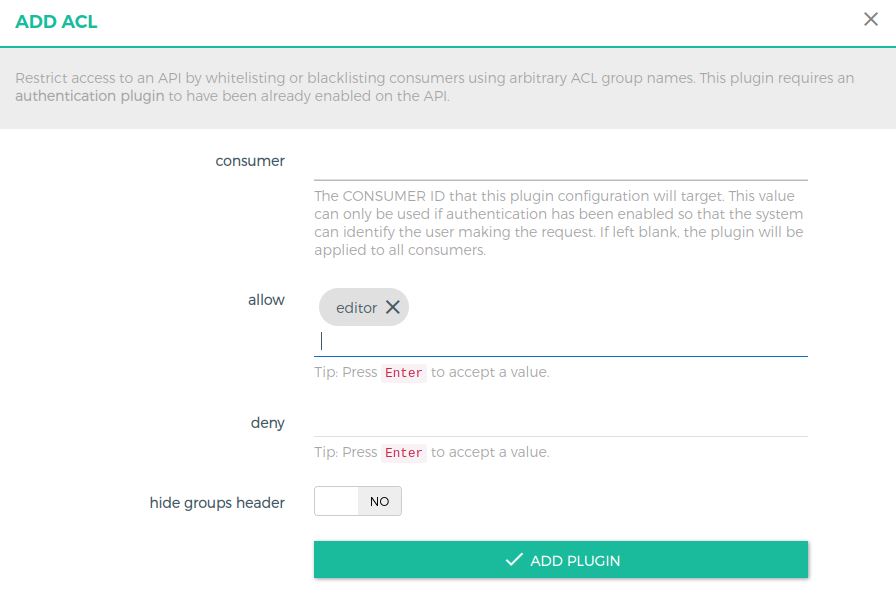
Now, all clients with apikey in editor consumer group will be can call all APIS in this route.

Comments are closed.