In this tutorial We will learn how to create an ecommerce website with WordPress and Woocommerce plugin with out using any line of code. You’ll only need 1 hour to create a professional website althought you don’t have any prgramming knowledge. Let’s start.
1. Buy domain and hosting.
If you had domain and hosting, you can skip this step. Without you can buy it at Stablehost with affordable price.
2. Install WordPress
If you are a beginner you can use Softaculous in cPanel for installing WordPress. You can reference this tutorial to know more about installing WordPress with Softaculous
3. Install Wocommerce plugin
Like with all WordPress plugins, you need to navigate to your WordPress Dashboard / Plugins / Add New. Once there, type “woocommerce” in the search field. You will see WooCommerce as the first search result:
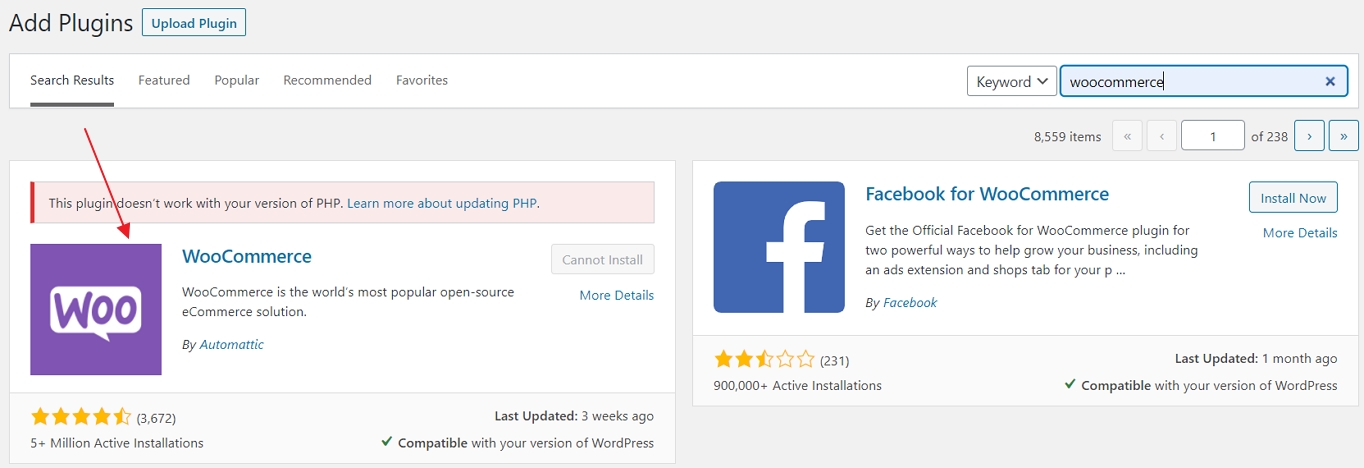
Just click the “Install Now” button next to the plugin.
After a couple of seconds, the text on the button will change to “Activate”. Go ahead and click it.
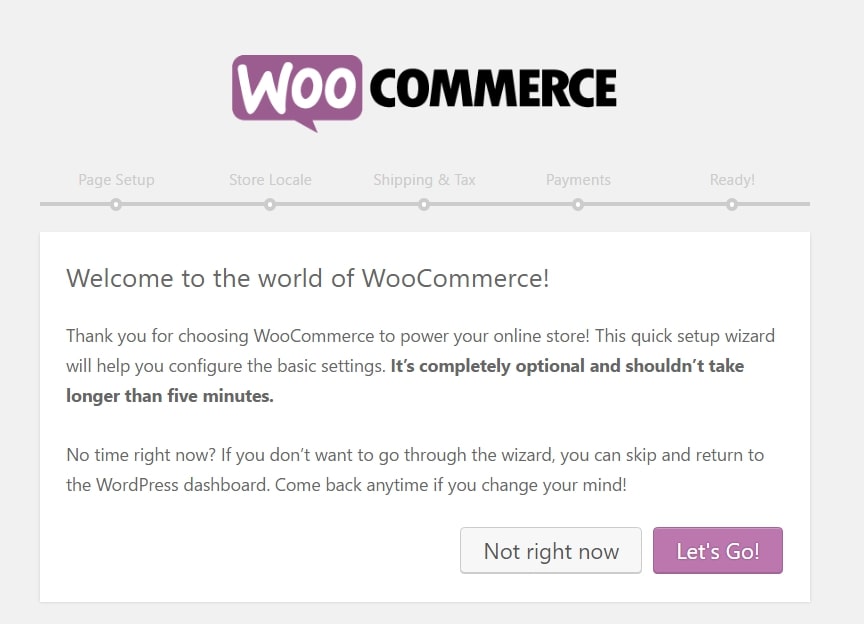
At this stage, you will see WooCommerce’s on-screen launch/setup wizard. To start, click “Let’s Go!”
Create the Essential Store Pages
Online stores are a particular kind of website, and they need some particular pages to function properly. The first step in the WooCommerce wizard is about creating these pages for you:
- Shop: this is where your products are going to be displayed.
- Cart: This is the shopping cart where your customers can adjust their order before proceeding to checkout.
- Checkout: this is where the customers choose the shipping/delivery method and pay for whatever they are bought.
- My Account: a kind of profile page for registered customers (they will be able to view their past orders there and manage other details).
All you need to do at this stage of the WooCommerce wizard is click the “Continue” button. WooCommerce will set up those pages for you.
Set Up Locale
The locale is a truly crucial part of your store setup. Those few parameters define your business origin, currency, and preferred units:
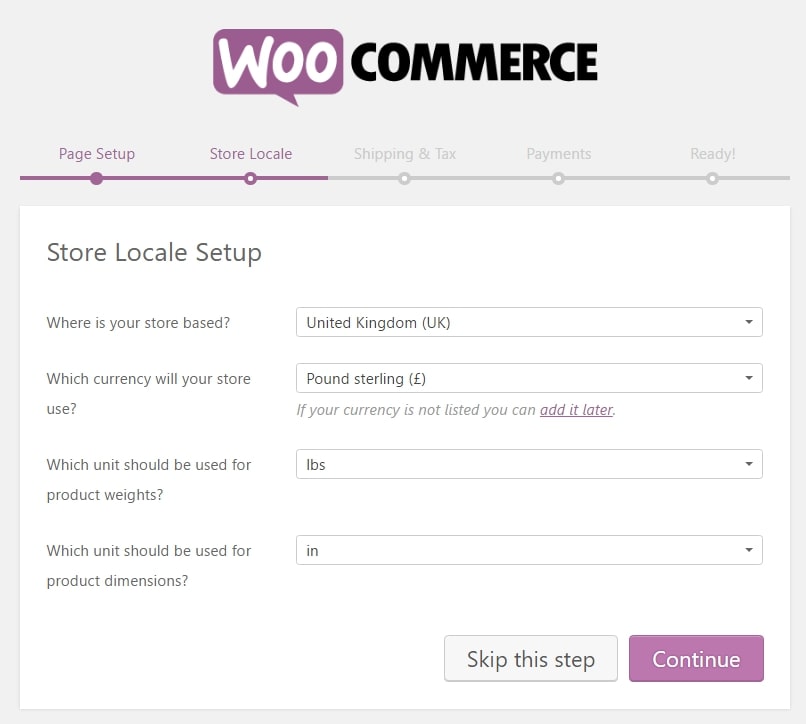
Once you’re done, click “Continue”.
Understand Sales Tax
First, you can select if you’re going to be shipping physical goods or not. If you check the box, WooCommerce will pre-set the remaining shipping-related details in the settings.

Next, tax! WooCommerce has a very neat tax module, the best thing about it is that it helps you figure out the tax rates based on your store location (you have set it in the previous step).
If you’re going to charge sales tax (in most cases you are), just check the main tax box. As soon as you do this, a new set of boxes will appear and inform you of what’s going to happen next.
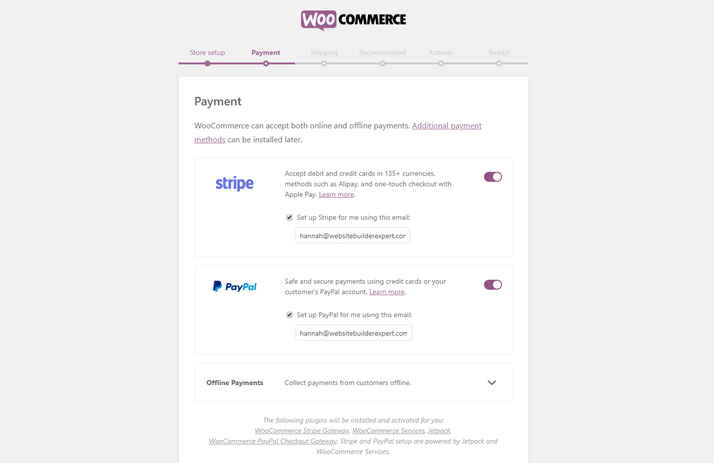
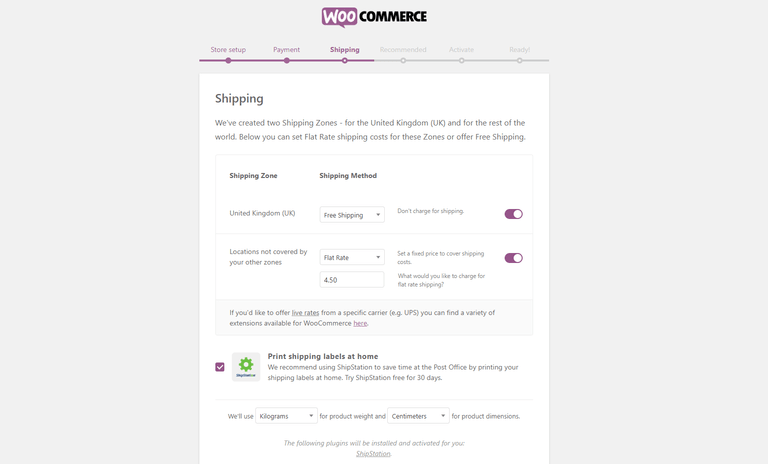
Click “Continue.” choose a payment method, shipping method and then finish setup Woocommerce.
4. Install theme support Woocommerce
Pick a theme that you like, and that compatible with Woocommerce. You can use free theme or premium theme depend on your budget.
Buying premium themes on ThemeForest (huge selection) and Elegant Themes with keyword Woocommerce theme, it’ll return a ton of great Woocommerce theme for you.
You can also find a selection of free WordPress themes in the theme directory or you can download free woocommerce theme at https://athemes.com/collections/free-woocommerce-wordpress-themes/
To install a premium theme on your site you can read how install theme file in WordPress
- Hover over Appearance, then click Themes. This will take you through to the theme dashboard.
- Click the button above the themes that says Add New. This will take you to the WordPress theme dashboard.
- Click the blue button at the top that says Upload Theme.
- You’ll then be prompted to choose a .zip file from your computer. Choose your new theme file.
- You’ll then see a success message, with a link to activate your theme. And that’s it, you’re ready to go!
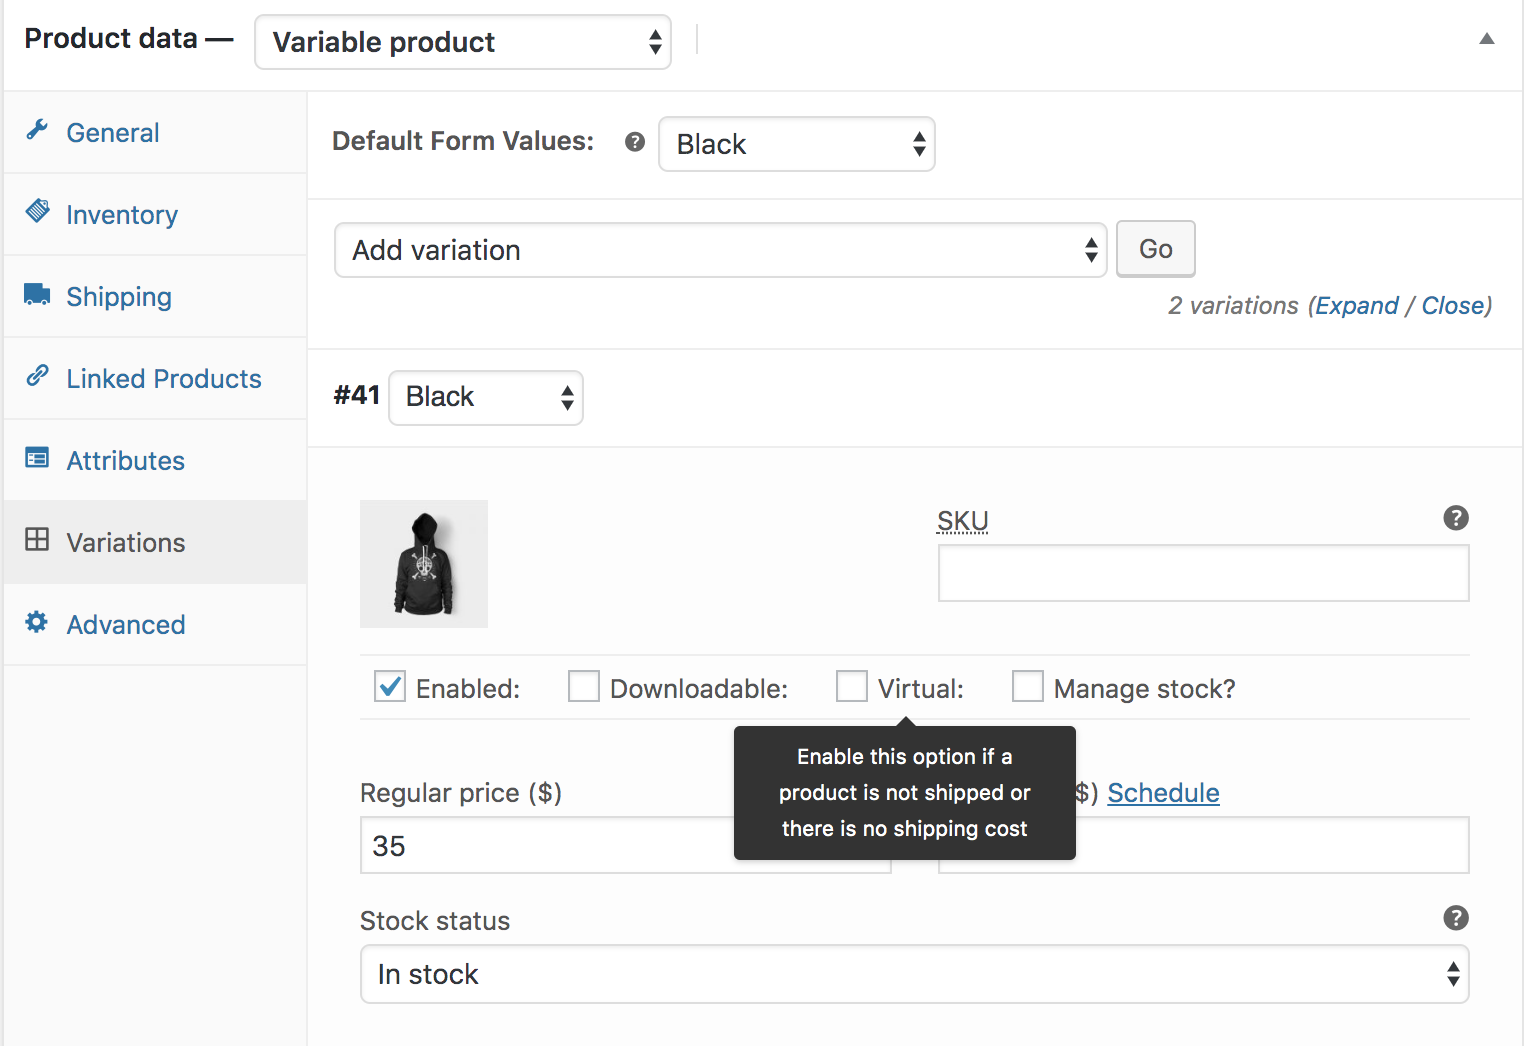
Setup the product page
Now that you have your theme set up, it’s time to start adding products and their product pages.
At the very least, every product you add must have the following features:
- Product name
- Price
- Image
- Brief description
Begin by entering your WordPress admin panel, then select “Products” on the sidebar and select “Add Product”. WooCommerce allows you to add both physical and virtual products to your store.